Home security is a top priority for homeowners, with safety concerns rising in today’s uncertain world.
The peace of mind that comes with knowing your property is protected can make all the difference in your daily life.
However, the cost of professional security system installations can be quite high, making DIY solutions a popular choice for many.
Installing a home security system on your own is not only cost-effective but also gives you the freedom to customize the setup according to your preferences.
Choosing to install your own security system allows you to save money on installation fees, and in most cases, the systems available for self-installation are designed with simplicity in mind.
These DIY systems are equipped with user-friendly interfaces and come with detailed instructions.
Whether you’re concerned about break-ins, monitoring your kids or pets, or just want to have an eye on things when you’re away, a DIY home security system offers a practical and affordable solution.
In this guide, we will walk you through the essential steps of installing a home security system without needing professional help.
From selecting the right equipment to properly setting it up, you’ll gain all the knowledge you need to secure your home effectively.
Choosing the Right Home Security System
Assessing Your Needs and Requirements
Before diving into the installation process, it is essential to assess your home’s security needs.
A system that works for a large suburban house may not be suitable for a small city apartment.
Understanding your requirements will help you pick the right equipment for your home.
Start by considering the following factors:
Size of Your Home:
The larger your home, the more sensors, cameras, and detectors you will need. A larger property may require a multi-camera setup for comprehensive coverage.
Security Vulnerabilities:
Identify the areas most vulnerable to break-ins or other threats. These may include front and back doors, windows, garages, and side entrances.
Type of Monitoring:
Decide whether you want a monitored system that alerts a third party in case of an emergency, or an unmonitored one that sends alerts directly to you.
Smart Integration:
If you’re already using a smart home system (like Alexa or Google Home), you might want a security system that integrates seamlessly with your existing devices.
Types of DIY Security Systems
There are several types of DIY home security systems available on the market today.
The most common include:
Wired Systems:
These require a professional installation, as they need to be physically wired into your home. They tend to be more expensive but offer a stable, permanent solution.
Wireless Systems:
These systems are the easiest to install yourself and use Wi-Fi or cellular connections.
They are highly flexible, and you can move components as needed. They are often cheaper and suitable for renters as well.
Hybrid Systems:
These combine the features of wired and wireless systems, offering a good balance between the two.
Camera-based Systems:
These systems prioritize video surveillance and are ideal for monitoring your home.
They typically include a combination of indoor and outdoor cameras, motion sensors, and sometimes doorbell cameras.
Planning Your Home Security System Layout

Creating a Floor Plan for Security Devices
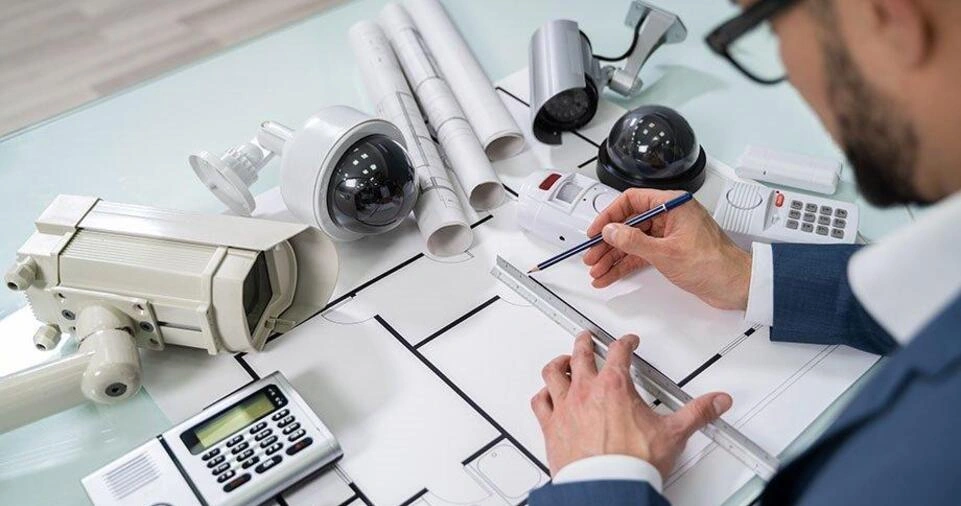
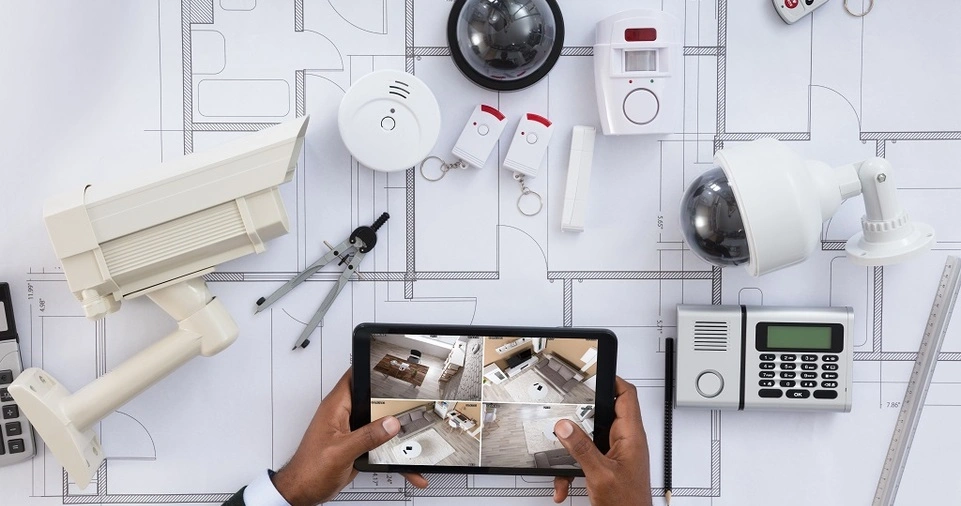
Before you begin installing any components, it’s important to map out where each piece of equipment will go.
This will help you ensure that every part of your home is adequately protected and that no area is left vulnerable.
- Entry Points: Prioritize securing doors and windows. Install sensors on all accessible doors and windows to detect when they are opened.
- High-risk Areas: Think about areas that are more likely to be targeted, such as back doors, basement windows, or garages. Install additional cameras or sensors in these spots.
- Motion Detection: Position motion detectors in hallways or rooms that don’t have windows and doors. Keep them away from heat sources to avoid false alarms.
Creating a security system floor plan ensures that the system will provide optimal coverage for your property.
Camera Placement Considerations
When positioning cameras, it’s important to think about both functionality and visibility. Outdoor cameras should be placed high enough to cover large areas while avoiding glare or shadowing.
Indoors, cameras should cover common areas like the living room, entryways, and hallways.
If you have a large property, you may need more than one camera to ensure full coverage.
Here are some tips for camera placement:
- Entryways: Place cameras near the front and back doors to capture anyone coming or going.
- Driveways: Install cameras facing the driveway to monitor vehicle activity.
- Common Areas: Position cameras in main living spaces to monitor activity within your home.
- Outdoor Lighting: Ensure cameras are placed under adequate lighting to ensure clear footage, especially during the night.
Necessary Tools and Equipment for Installation
What You Need to Get Started
While many DIY security systems are designed for easy installation, having the right tools will make the process smoother.
You will likely need the following:
- Screwdriver or Drill: For mounting cameras, sensors, and hubs to walls or ceilings.
- Measuring Tape: To measure distances and ensure proper placement of sensors and cameras.
- Ladder: Especially important for installing high-mounted equipment, like cameras or motion detectors.
- Level: To make sure cameras or sensors are installed evenly.
- Adhesive Strips/Brackets: Some systems come with adhesive strips, but others may require screws or brackets.
Having these tools on hand will make the installation process easier and quicker.
ALSO READ: How to Use Wearable Tech to Track Your Fitness Goals
Step-by-Step Installation Guide

Step 1: Install the Control Panel or Hub
The control panel (or hub) is the heart of your home security system.
It connects all sensors, cameras, and other devices and allows you to monitor the system via your smartphone or a dedicated app.
Start by following the instructions to mount the control panel in a central location.
Central Location:
Ideally, place the hub near the main entrance, as this is where you’ll be arming and disarming the system.
Ensure it’s within range of your Wi-Fi router for reliable communication with other devices.
Power:
Connect the control panel to a power outlet, or insert batteries if applicable.
Wi-Fi Setup:
Follow the app’s instructions to connect the control panel to your home’s Wi-Fi network.
Step 2: Installing Door and Window Sensors
Sensors are crucial for detecting unauthorized entry. These are typically attached to doors, windows, and other potential entry points.
The installation process is relatively simple and usually involves:
- Positioning the Sensors: Stick the main sensor on the door or window frame, while the magnet attaches to the door or window itself.
- Testing Alignment: Make sure the magnet aligns properly with the sensor to ensure accurate detection when the door or window is opened.
Step 3: Setting Up Motion Detectors
Motion detectors are designed to sense movement within a defined area.
These can be placed in hallways, living rooms, or other high-traffic areas.
They work best when placed in corners to cover a wider area.
- Avoid False Alarms: Avoid placing detectors near air vents, pets, or large furniture that could trigger false alarms.
- Test Functionality: Walk through the area to ensure the detector senses motion accurately.
Step 4: Mounting Security Cameras
Mounting security cameras properly is essential for ensuring they capture clear, useful footage.
Follow the manufacturer’s instructions for mounting and adjusting your cameras.
- Indoor Cameras: These can typically be mounted on a flat surface, such as shelves or tabletops, or mounted on walls using brackets.
- Outdoor Cameras: These should be mounted under eaves or overhangs to protect them from the elements. Ensure the cameras are angled to avoid glare and maximize coverage.
- Wi-Fi Connectivity: Ensure that each camera is within range of your home’s Wi-Fi network.
Step 5: Connecting and Testing the System
Once all devices are installed, it’s time to connect them to the control panel and test the system.
Use the mobile app or the hub interface to sync the devices and ensure everything is working properly.
- Test Each Sensor: Open windows and doors to make sure the sensors trigger alerts.
- Test Motion Detectors: Walk through monitored areas to verify detection.
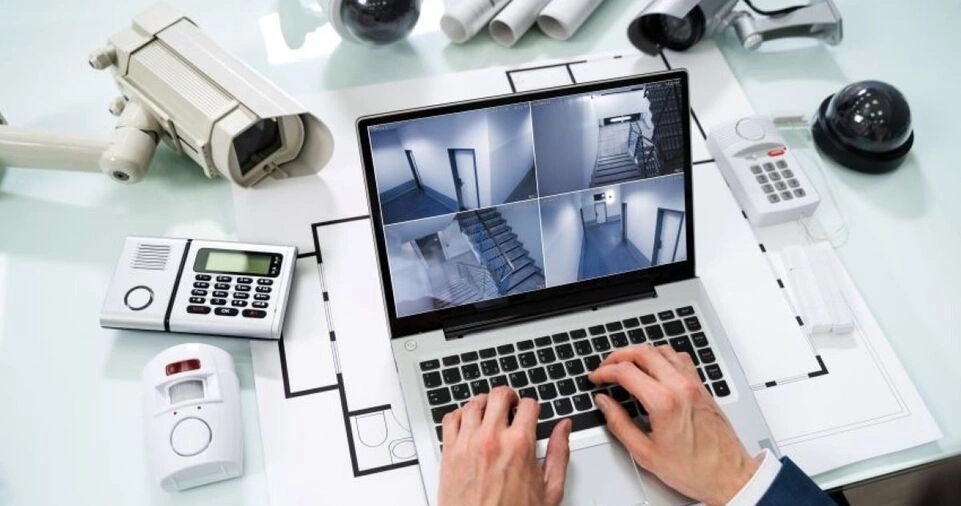
- Camera Feeds: Check the camera feeds on your app to ensure visibility and clarity.
Configuring and Monitoring Your System
Customize Alerts and Notifications
Once the system is fully set up, take the time to customize the alert settings.
Configure notifications for when sensors are triggered, or motion is detected.
You can usually adjust the sensitivity to avoid false alarms.
Set Up Access Codes and Passwords
To enhance security, set up unique PIN codes for arming and disarming the system.
Make sure to change default passwords and create strong, unique passwords for your mobile app and control panel.
Maintenance and Regular Testing
Regular maintenance and testing are essential for keeping your system in good working condition.
Check and replace the batteries in your sensors and cameras as needed. Periodically test each component to ensure they continue to work correctly.
Clean camera lenses regularly to maintain clear footage.
Conclusion
Installing a home security system without professional help is entirely achievable, and it can provide you with the peace of mind you deserve.
By selecting the right system, planning your layout, and following the step-by-step installation process, you can create a robust security network in your home.
Regular maintenance and updates ensure the system stays effective over time.
Whether you’re looking to deter burglars, monitor your property, or ensure the safety of your loved ones, a DIY home security system offers a practical, customizable, and cost-effective solution for modern homeowners.


